How to Change Proxmox Management IP Address
This blog post will guide you through the steps to successfully change the Proxmox management IP address


Changing the management IP address of your Proxmox server is a common task that may be necessary when moving your server to a new network or reorganizing your existing network. This blog post will guide you through the steps to successfully change the Proxmox management IP address.
Understanding Proxmox Network Configuration
Before proceeding with the IP address change, it’s important to understand that Proxmox uses a static IP address setup by default. This IP address is used to access the web management interface on port 8006.
Remember to perform these actions during a maintenance window or when it's convenient, as network changes can temporarily disrupt access to the Proxmox server.
Step-by-step guide to change the Proxmox Management IP Address
Step 1 - Access the Proxmox Server: Log in to your Proxmox server via SSH or directly through the console.
Step 2 - Edit Network Configuration: Use a text editor like nano to edit the /etc/network/interfaces file. This file contains the network configuration for your Proxmox server.
nano /etc/network/interfacesStep 3 - Locate the Current IP Configuration: Find the section in the file that corresponds to your management network interface, usually labeled as eth0.
auto eth0
iface eth0 inet static
    address 192.168.1.100
    netmask 255.255.255.0
    gateway 192.168.1.1
Step 4 - Update the IP Address: Change the address line to your new desired IP address. If you are changing the subnet, you will also need to update the netmask and gateway.
Step 5 - Save the Changes: After making the necessary changes, save the file and exit the text editor (in nano, you can do this by pressing Ctrl+X, then Y, and then Enter).
Step 6 - Restart the network service: Apply the changes by restarting the network service. This can be done using the following command:
systemctl restart networkingStep 7 - Verify the changes: Confirm that the IP address has been updated by checking the network interface configuration with below command. Replace eth0 with the actual network interface name if it's different:
ip addr show eth0Step 8 - Edit the Hosts File: Update the /etc/hosts file with the new IP address to ensure that the Proxmox server can correctly resolve its own hostname
nano /etc/hostsStep 9 - Reboot the Server: Once all changes are made, reboot the Proxmox server to apply the new network configuration if needed:
reboot nowStep 10 - Verify the Changes: After the server reboots, verify that you can access the Proxmox web interface using the new IP address.
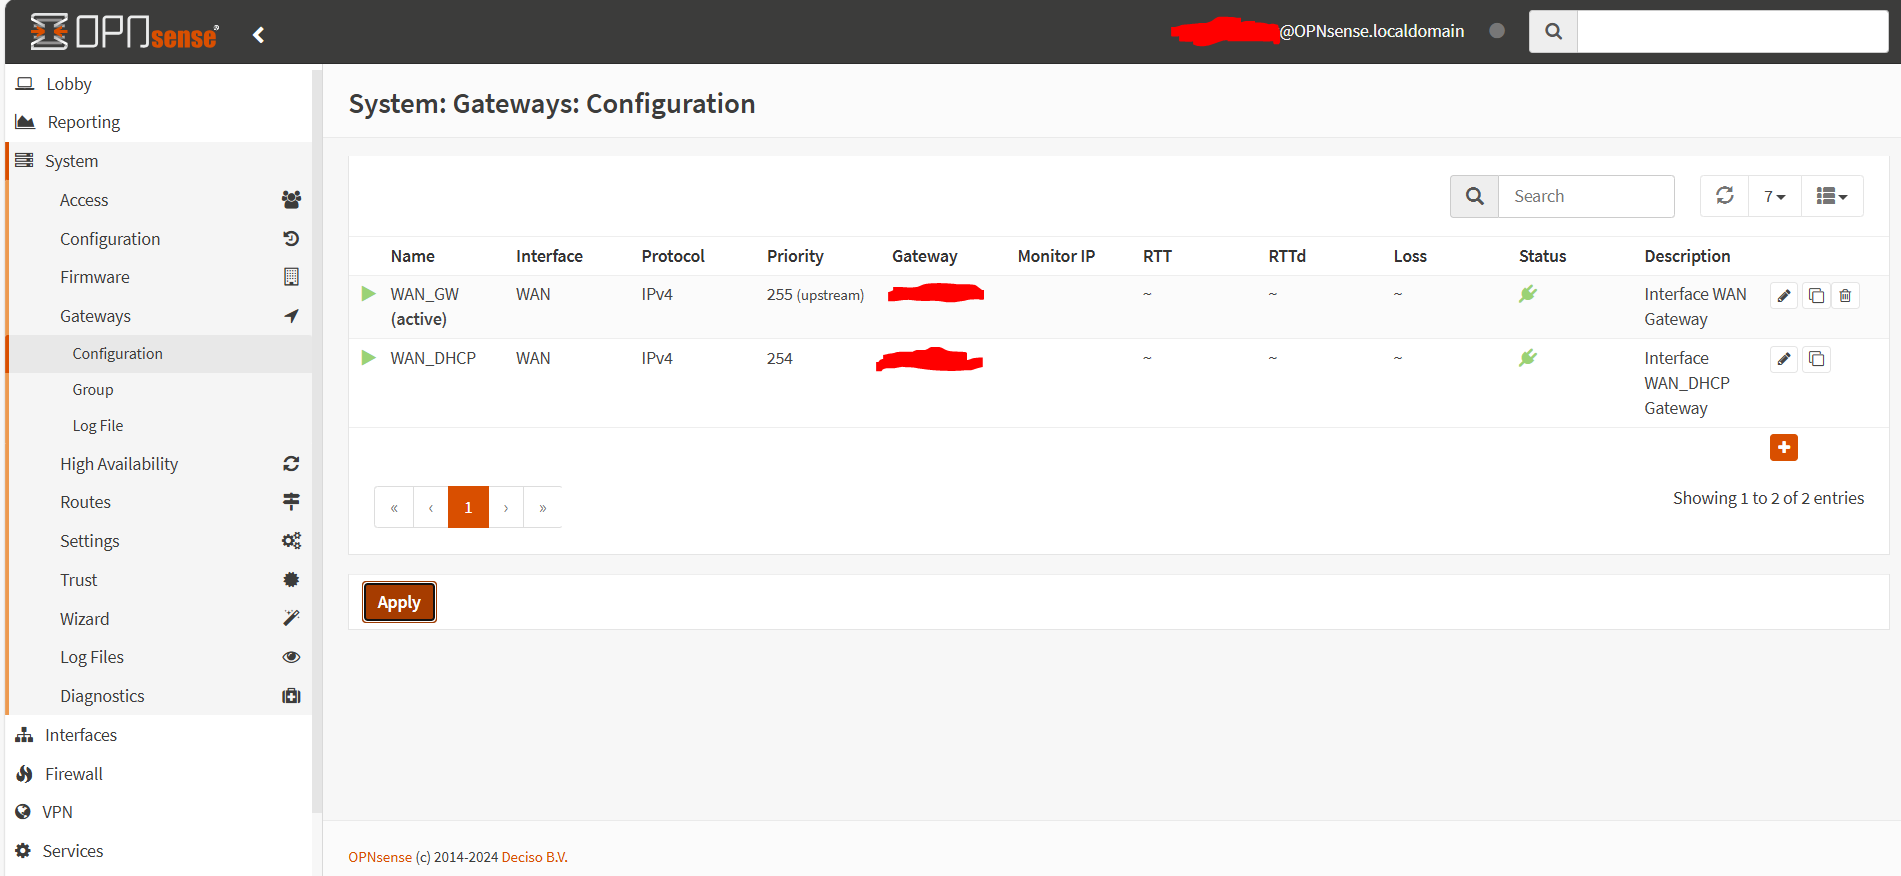
Step 11 - Update IP of VMs, LXC and other services: If needed, you have to change IP of proxmox virtual machines, lxc containers and other services. For example, in my case, I have to update IP address of OPNsense VM, and update it's gateway address by go to OPNsense management web GUI -> System -> Gateway -> Configurations to change these parameters:
Conclusion
Changing the management IP address of your Proxmox server is a straightforward process that involves editing a couple of configuration files and rebooting the server. Always ensure that you have a backup of your configuration files before making changes, and verify that the new settings are working as expected.
Remember, this guide focuses on changing the management IP address and does not cover changes to the IP addresses of virtual machines or containers hosted on the Proxmox server. For more detailed instructions or if you encounter any issues, consider watching tutorial videos or reading comprehensive guides available online.
Happy virtualizing!


