How to install Komga in OpenMediaVault Using Docker Compose
This article provides a concise guide on how to install Komga in OpenMediaVault (OMV) using Docker Compose.

Komga is a free and open-source media server for your comics, manga, magazines, and books. It supports comic book archives such as CBZ and CBR (except solid archives, for RAR5 see below); eBooks in EPUB format; and PDF files.
This article provides a concise guide on how to install Komga in OpenMediaVault (OMV) using Docker Compose.
Prerequisites
- OpenMediaVault installed and running
- Docker and Docker Compose installed on OMV
- Basic knowledge of using the OMV web interface
Step-by-Step Guide
1. Create Necessary Folders
- Go to Storage > Shared Folders.
- Create another folder named
komgafor Komga’s configuration and data.
2. Create Docker Compose File
Navigate to Services > Compose > Files and add the following content to the file:
version: '3.3'
services:
  komga:
    image: gotson/komga
    container_name: komga
    volumes:
      - /path/to/komga/config:/config
      - /path/to/komga/data:/data
    ports:
      - 25600:25600
    restart: unless-stopped
Remeber to replace /path/to/komga/config and /path/to/komga/data with the actual paths to your komga folder.
In my case, because I have already add global environment file for OpenMediaVault docker, so my compose file is simple as the picture below:

After carefully finish editing all the parameters, Save the compose file and click Up button to deploy Komga container.

3. Initial login and setup
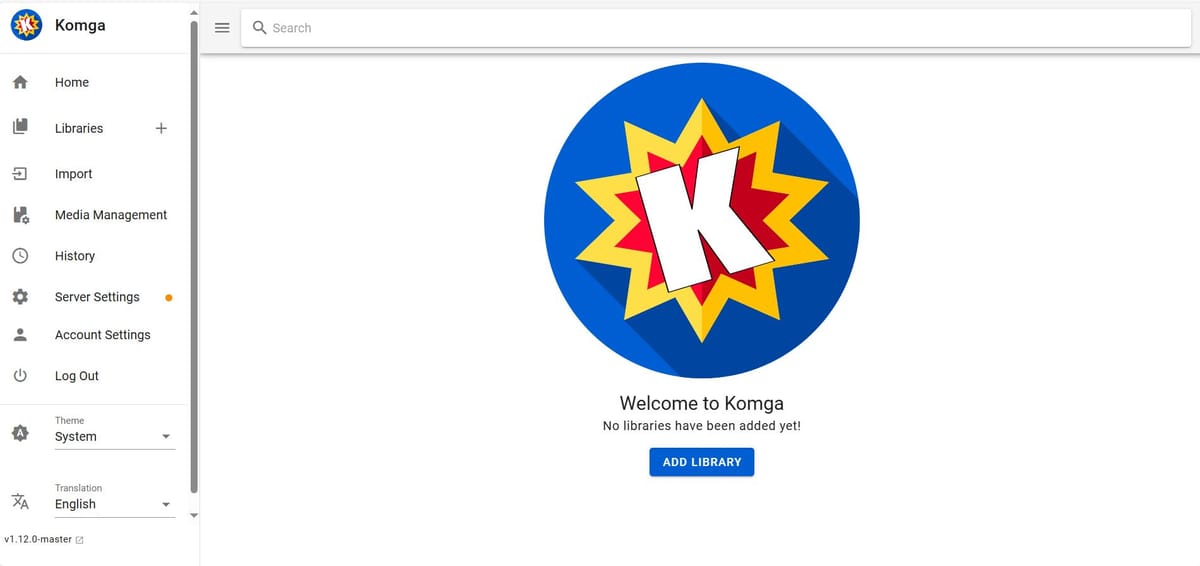
Open your web browser and starting to use Komga. At this time, Komga should now be running and accessible at http://<your-OMV-IP>:25600.
At the first step, Komga will ask you to create a user account. Choose an email and password, then click on Create User Account and start using Komga.

Conclusion
You have successfully installed Komga on OpenMediaVault using Docker Compose. You can now start adding your comics, manga, and books to Komga and enjoy your media library.


