Step-by-Step Guide to Install OpenMediaVault on Proxmox and Enabling SMB Share
A comprehensive guide for installing OpenMediaVault on Proxmox and setting up an SMB share for easy file sharing across your network

In the realm of home servers and virtualization, having a reliable platform to manage storage and network services is crucial. OpenMediaVault (OMV) and Proxmox Virtual Environment are two powerful tools that, when combined, create a robust environment for managing storage and virtual machines (VMs).
OpenMediaVault represents the latest in network-attached storage (NAS) solutions, built upon Debian Linux. It comes pre-loaded with essential services such as SSH, (S)FTP, NFS, SMB/CIFS, RSync, and more, all readily accessible. Its modular framework allows for seamless expansion through plugins. While initially tailored for small offices or home offices, OpenMediaVault's versatility extends beyond these environments. It offers a straightforward, user-friendly setup, making it accessible to anyone looking to install and manage NAS without extensive technical expertise.
In this guide, we'll walk through the process of installing OpenMediaVault on Proxmox and setting up an SMB share for easy file sharing across your network.
Step 1: Download OpenMediaVault Installation ISO and Upload to Proxmox
Before you begin setting up Proxmox Virtual Environment, you'll need to acquire the OpenMediaVault installation ISO and make it available for deployment on your Proxmox server. Here's how to get started:
- Download OpenMediaVault ISO: Visit the OpenMediaVault official download page to obtain the latest installation ISO. Choose the appropriate version depending on your hardware and requirements.
- Upload ISO to Proxmox: Access the Proxmox web interface using your browser. Navigate to "Storage" on the left sidebar and select the storage location where you want to upload the ISO file (e.g., local storage, NFS, or other storage types configured on Proxmox).
- Upload ISO File: Click on "Upload" and select the OpenMediaVault ISO file from your local machine. Wait for the upload to complete, ensuring the ISO is available in your chosen storage location within Proxmox.
Step 2: Create a Virtual Machine for OpenMediaVault
- Login to Proxmox: Access the Proxmox web interface using your browser by navigating to the IP address of your Proxmox server.
- Create New VM: Click on "Create VM" and follow the wizard to set up a new virtual machine for OpenMediaVault.
- Choose "Linux" and "Debian" as the OS type and version respectively.
- For the OS: select OMV ISO to the VM's CD/DVD drive to boot from it.
- Allocate sufficient resources (CPU cores, RAM, disk space) based on your anticipated usage. In my case, I set the CPU cores to 1; RAM is 2048 MB; disk space is 128GB.
- Storage Configuration: Attach the addition hard disks or USB to use as storage. In my case, because I install OMV as a VM inside Proxmox on a mini PC, I just add an USB disk enclosure with 1TB laptop HDD.
- Networking: Assign network settings to the VM so it can connect to your network.
- Start the VM: Once configured, start the VM and proceed with the OMV installation.
Step 3: Install OpenMediaVault
- Install OpenMediaVault:
- Once the OMV installer boots up, select your preferred language and proceed with the installation process.
- Follow the on-screen prompts to configure network settings, timezone, and partitioning options.
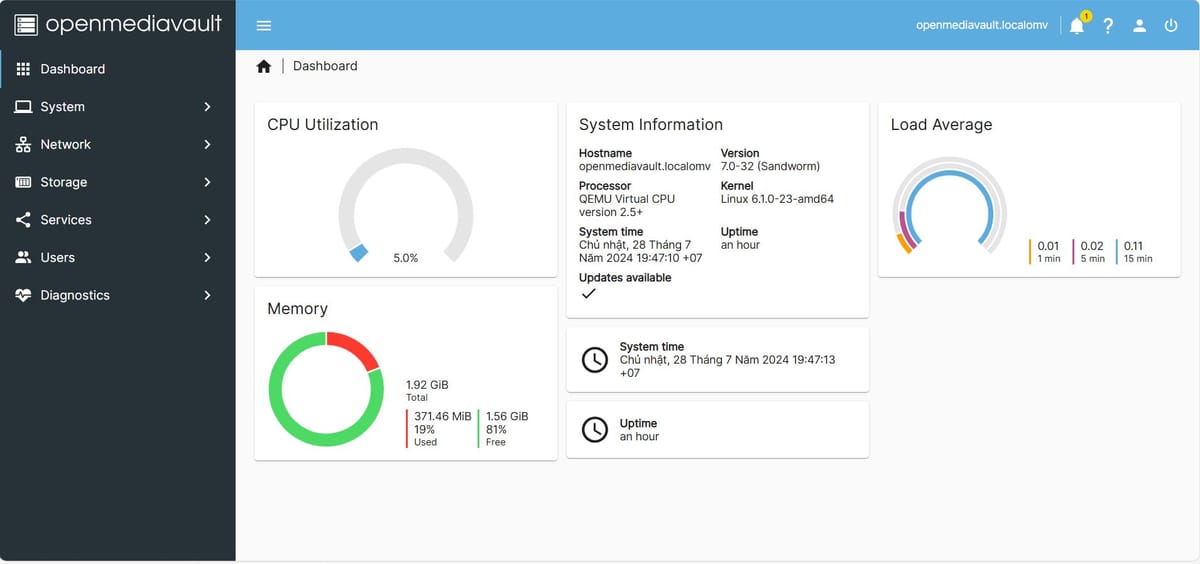
- Access Web Interface: Once installed, access OMV's web interface by navigating to the VM's IP address on port 80 (http://<ip_address>).

Step 4: Configure OpenMediaVault
- Initial Setup: Log in using the default credentials (admin / openmediavault) and change the password if needed.
- Network: Go to Network -> Interface to set OMV to static IP address. I recommend setup OMV to use static IP using your modem LAN configuration.
- Storage:
- Navigate to "Storage" -> "Disks", select the disk to use and click Wipe to delete the entire disk if needed. Be careful because this all the data on this disk will be lost.
- Navigate to "Storage" -> "File Systems" -> "Create" to create a new file system on your storage devices. Wait for the process to finish then the screen automatically change to Mount screen. Just choose the created filesystem and Type (I choose EXT4 for Type), then click Save -> Apply.
- Share Folders: Go to "Shared Folders" and create a new shared folder. Set permissions and other settings as needed (I just use the default settings and permissions).
Step 5: Enable SMB/CIFS Share
- Configure SMB/CIFS: Go to "Services" -> "SMB/CIFS" -> "Settings" and enable the service.
- Configure the share: Go to "Services" -> "SMB/CIFS" -> "Shares" and add the previously created shared folder.
- Set Permissions: Adjust permissions and access rights under the "Access Rights Management" tab within SMB/CIFS settings.
Step 6: Create a new user
Go to "Users" -> "Users" to create a new user.
Step 7: Access and Test the SMB Share
- Access the Share: On your networked devices (Windows, macOS, Linux), navigate to \<OMV_IP_address>\ to access the SMB share. Log in using the credentials you set up in the SMB/CIFS settings (or using the user created in Step 6).
- Test File Transfer: Transfer a file to and from the SMB share to ensure everything is functioning correctly.
Video guide
Conclusion
Setting up OpenMediaVault on Proxmox and configuring an SMB share provides a versatile solution for managing storage and sharing files across your network. By following these steps, you can create a stable and efficient home server environment that meets your storage and file-sharing needs. Experiment further with additional plugins and features offered by OpenMediaVault to customize your setup even more. Enjoy your newly configured home server and the flexibility it brings to your network!


