How to Sync AdGuard Home Settings Across Multiple Instances
A comprehensive guide through the steps to sync AdGuard Home settings across multiple instances using Portainer


AdGuard Home is a powerful tool for blocking ads and tracking across your network. If you manage multiple instances of AdGuard Home, keeping their settings synchronized can be challenging. Using Portainer and AdGuardHome-Sync, you can automate this process efficiently. In this blog post, we’ll guide you through the steps to sync your AdGuard Home settings using a Portainer stack.
Prerequisites
Before we start, ensure you have the following:
- Multiple instances of AdGuard Home running.
- Docker and Portainer installed on your system.
- Basic understanding of Docker, Portainer, and YAML configuration files.
Step-by-Step Guide
Step 1: Create a Portainer Stack for AdGuardHome-Sync
AdGuardHome-Sync is a tool designed to synchronize settings between multiple AdGuard Home instances. To deploy it using a Portainer stack, follow these steps:
- Open Portainer and navigate to the Stacks section.
- Click on Add stack and name it
adguardhome-sync.

Step 2: Paste the docker-compose content to the Web Editor form, as below. Remember to change origin and destination IP, port, username and password accordingly to your actual system.
---
version: "2.1"
services:
  adguardhome-sync:
    image: quay.io/bakito/adguardhome-sync
    container_name: adguardhome-sync
    command: run
    environment:
      - ORIGIN_URL=http://192.168.1.26:3000 #Your origin Adguard Home instance -> change as necessary
      - ORIGIN_USERNAME=username #change as necessary
      - ORIGIN_PASSWORD=password #change as necessary
      - REPLICA_URL=http://192.168.1.27 #Your destination Adguard Home instance change as necessary
      - REPLICA_USERNAME=dbtech #change as necessary
      - REPLICA_PASSWORD=password #change as necessary
      # Replicate to other instances if needed
      - REPLICA1_URL=http://192.168.1.4 #change as necessary
      - REPLICA1_USERNAME=username #change as necessary
      - REPLICA1_PASSWORD=password #change as necessary
      - CRON=*/1 * * * * # run every 1 minute
      - RUNONSTART=true
    ports:
      - 9876:8080 #change as necessary
    restart: unless-stopped
Step 3: Deploy the Stack
- Click on Deploy the stack in Portainer.
- This will start the AdGuardHome-Sync container with the specified configuration.
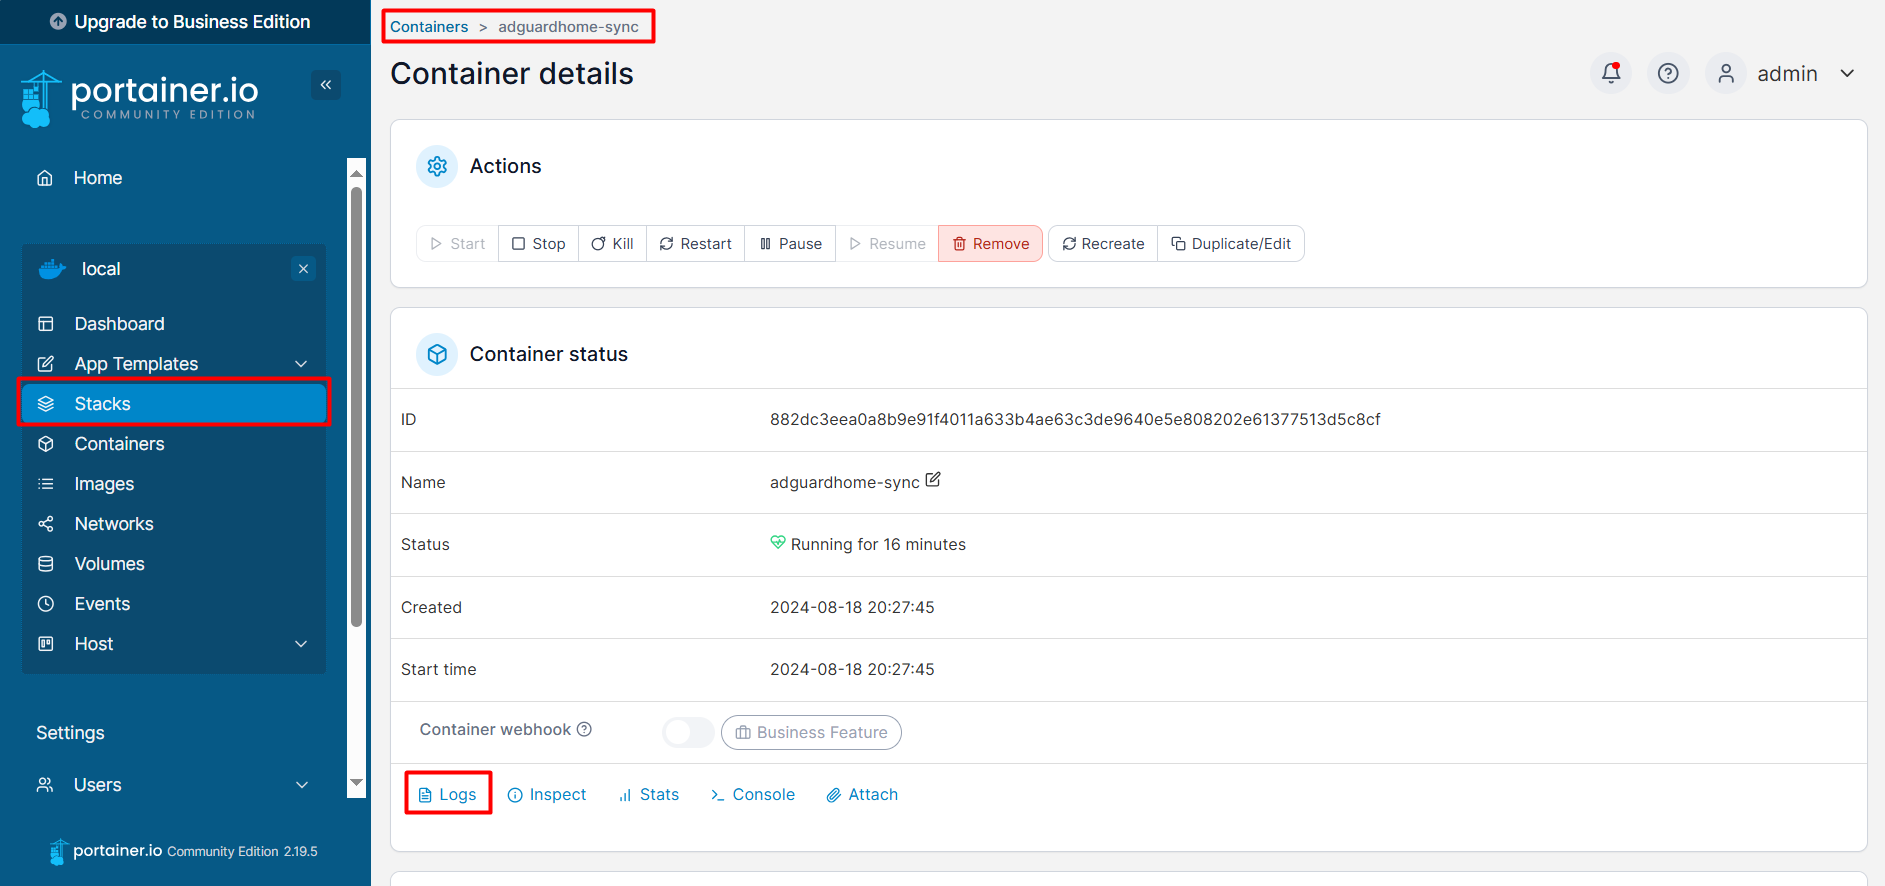
Step 4: Verify Synchronization
Check the container logs to ensure that the synchronization is working correctly.

Tips and Tricks
- Security: Ensure that your AdGuard Home instances are secured with strong passwords.
- Monitoring: Regularly check the logs to monitor the synchronization process.
- Updates: Keep your Docker images up to date to benefit from the latest features and security patches.
By following these steps, you can easily keep your AdGuard Home instances synchronized, ensuring consistent ad-blocking and DNS filtering across your network. Happy syncing!


